OSINT Quick Guide: Running a Domain Scan in Lampyre
***Due to recent findings by @MwOsint I can no longer endorse Lampyre as a trusted tool https://keyfindings.blog/2020/03/23/be-careful-what-you-osint-with/
Lampyre is a windows-based tool that I like to use for some quick OSINT research. Previously, I wrote a blog on Basic Email and Phone Number recon but Lampyre has since upgraded and now has an exciting new beta version with a more simple layout and new tools. If you don’t already have Lampyre, you can go to their website www.lampyre.io and click Try Lampyre for Free.

Once Lampyre is installed, activate it through their website and then open the program. This demo will be run in online mode, I have found it to be less buggy overall. It is my understanding that Standalone mode is just a way to isolate your search data from the internet and since we won’t be doing anything secret in nature it shouldn’t matter.
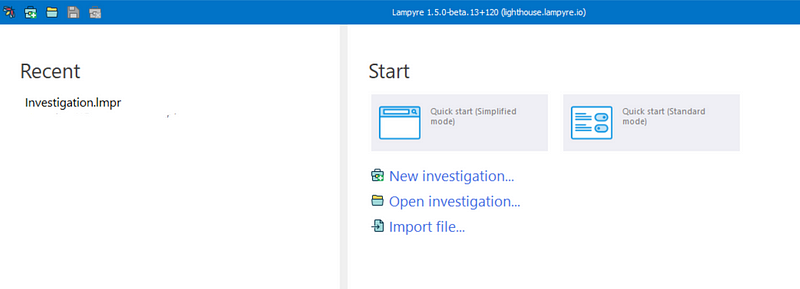
A window will open to start a new investigation. I prefer setting the layout to Simplified Mode since it has fewer options that will confuse me. Click on that option and windows will open for the new investigation.
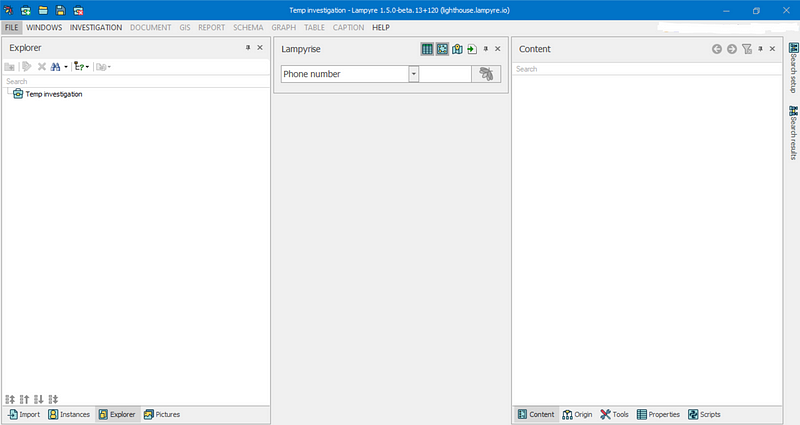
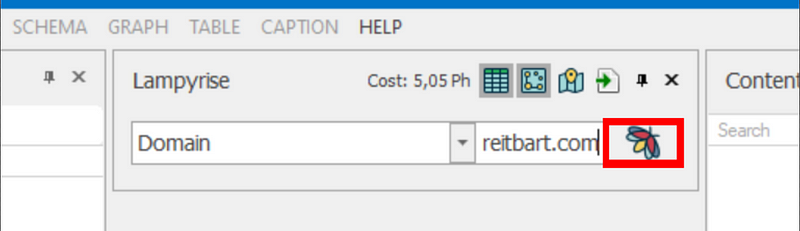
One of the cool new things in the beta is the Lampyrise tool. It makes it super easy to search for things by selecting them from the drop-down.
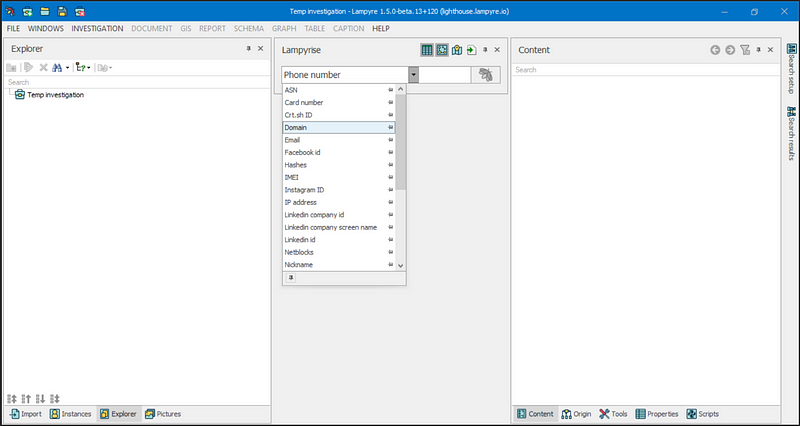
You can see I chose Domain in the Lampyrise drop-down menu below. In the field next to Domain is where the search criteria will go.
Out of sheer curiosity, I searched for Breitbart dot com and then clicked the Lampyre logo next to the box which starts the search.
Another fun thing about Lampyre is there is no real need to mess with installing API keys. Their website claims to have over 100 regularly updated data sources. If you are a person who struggles with API keys in Maltego this might be where Lampyre can help.
As this scan runs you can see it tabs pop up for Threatcrowd, NSLookup, Snov.io and Full Contact of objects and social networks with the domain. Additionally, I am able to choose whether I want to run data in a table, schema, map, or all three. Who doesn’t love a good schema amirite?
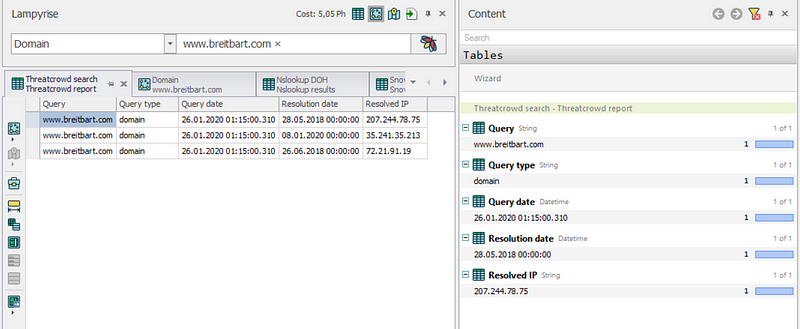
Each tab shown here offers different data to parse through. The ThreatCrowd tab shows us all of the resolved IPs associated with our domain. ThreatCrowd is great at finding entities alone but requires something like Lampyre to help visualize all of the data.
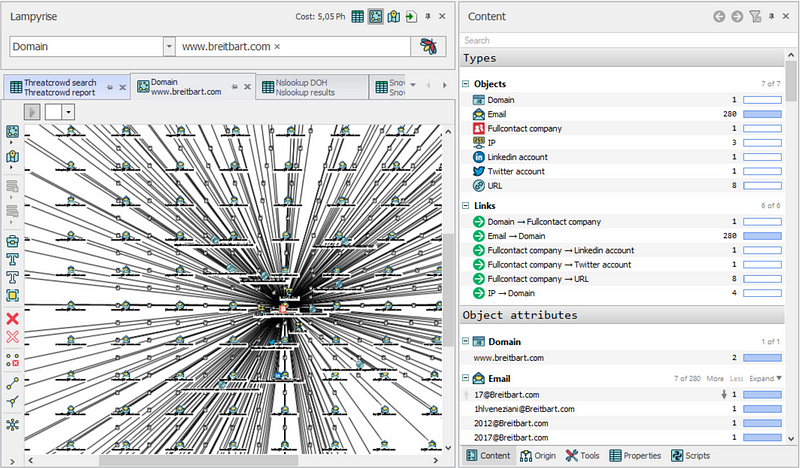
In my initial scan, I ran all visualization options (table, schema, map). Below we can see the graph of all the entities associated with the domain. We can also open the Timeline (Window>Timeline) to focus in on just one section of the schema. Furthermore, we can grab an entity on the schema and open it into it’s own investigation.
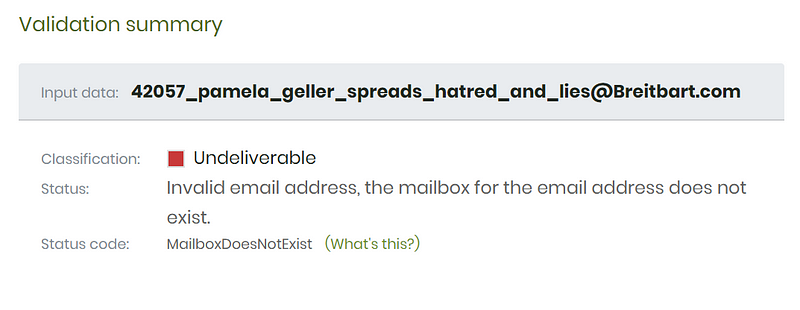
Many of the entities found in this scan were emails. I found these two emails below interesting.
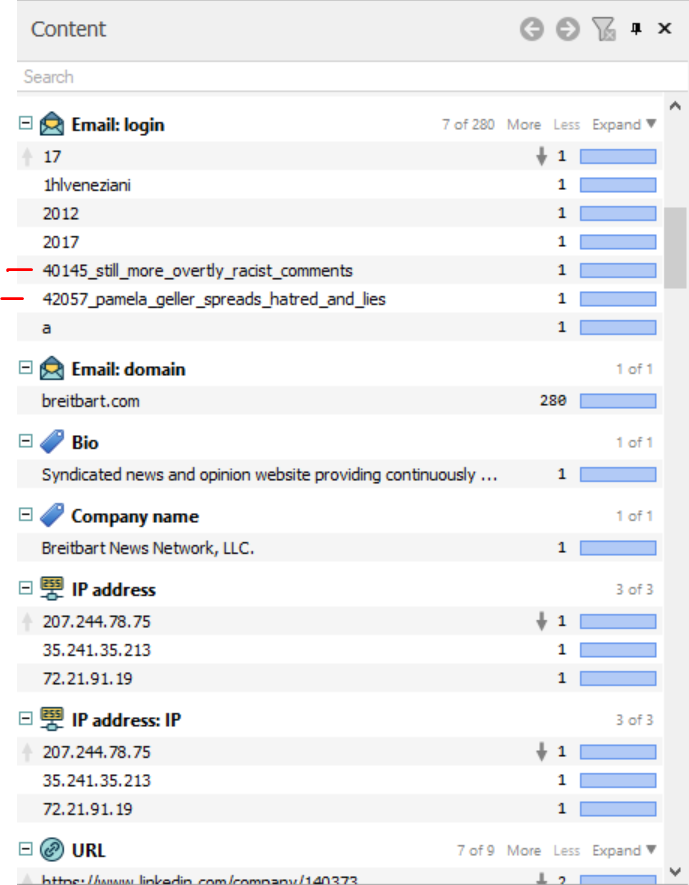
I obviously couldn’t let it go without trying to validate them but they were undeliverable.
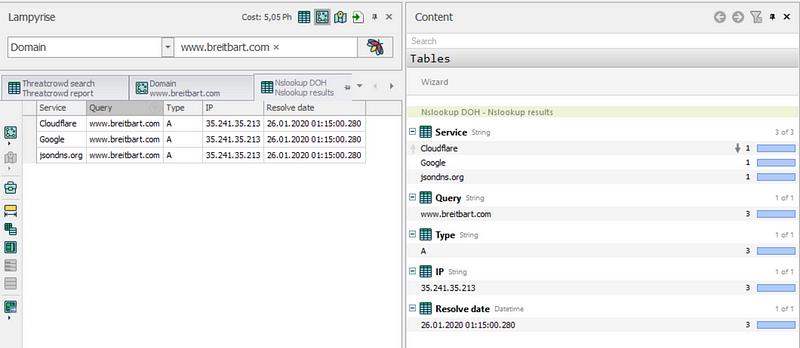
Another tab shows NSlookup, or Name Server Lookup results. This is used for querying the Domain Name System to gather the domain name, IP, or other DNS records. In this instance, NSlookup provided most of the same data as Threatcrowd.
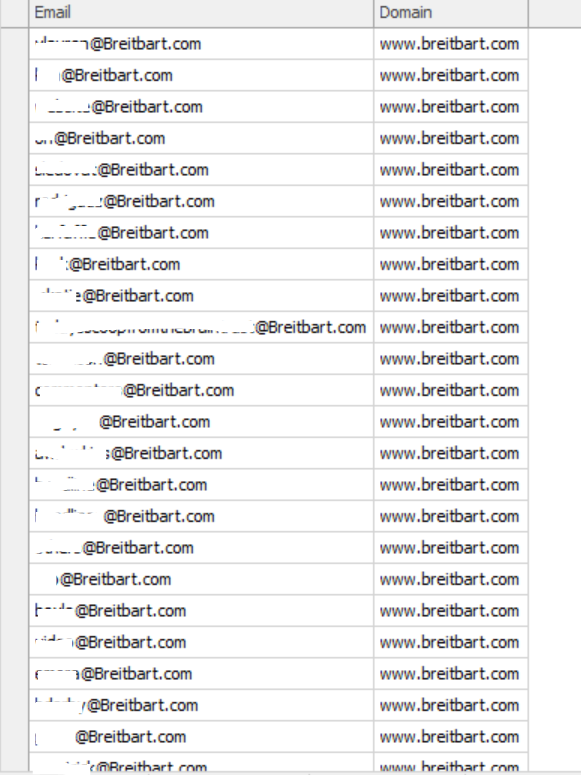
When I ran the scan we selected to run all 3 modes of viewing. We saw the schema, this below is the data in a table. We get all of the email addresses in an easy to export chart.
As you can see, using Lampyre is a simple way to start doing domain recon and practicing your OSINT skills. Generally, I do not stick to using just one method however and I would most likely pair this with searches from intelligence X , Whois, and RiskIQ just to name a few. Be sure to keep an eye out for more quick tips coming soon!